Streaming a Live Event Tutorial (Linux)
Goal: Learn how to stream a live eventBroadcasts a live feed of an event (e.g., concerts, lectures, or sporting events). A live event differs from live linear streaming in that it is designed to end once the event is over. .
Live events are perfect for concerts, lectures, sporting events or any other live content that will be broadcast for a finite amount of time.
- Live events provide the following capabilities:
- Effortlessly scale to massive audiences.
- Start the event at any time and present your users with looped video until the event begins.
- Immediately replay the event on-demand upon completion.
- Insert ad breaks, integrate with a third-party ad server, and deliver unique ads to each of your viewers.
This tutorial sets up a basic live event. Unlock the true power of live events by taking advantage of features, such as live event scheduling, UDP streaming, Mac support, and API-driven workflows. Learn more.
Alternatively, stream a single live linearRepresents a timeline that identifies content and when it should be played. This allows content to be streamed to viewers according to a predefined schedule. by taking advantage of our live linear streaming capabilities.
Software/Hardware Prerequisites:
- Linux OS
-
Blackmagic DeckLink SDI card
Audio/Video Feed Prerequisites:
- Audio source
- Video source
Key Steps:
- Set up a Live Slicer.
- Create and configure a live event.
- Set up a media player.
- Broadcast the live event.
Best Practice:
Prior to your live event, it is strongly recommended to verify that the host computer can maintain upload bandwidth at the desired streaming quality.
To this end, it is recommended to:
- Create a live event configuration for testing purposes. Figure out the optimal streaming quality for the host computer by streaming for a short time period (e.g., 5 minutes).
- Create another live event configuration for the actual live event. Make sure to set the streaming quality to an optimal value.
Step 1 - Set Up a Live Slicer
A Live Slicer is required to prepare an audio/video feed into a live stream that will be broadcast to all of your viewers. Set up the latest version of the Live Slicer on a Linux computer.
If you plan on using a Blackmagic DeckLink SDI capture card, then the Live Slicer must be installed on the computer where that card is housed.
Live Slicer version 21092100 or higher: Install the libnl-3.200 library.
Command:
sudo apt install libnl-3-200
Python and bzip2: Install the python bzip2 applications.
Command:
sudo apt install python bzip2
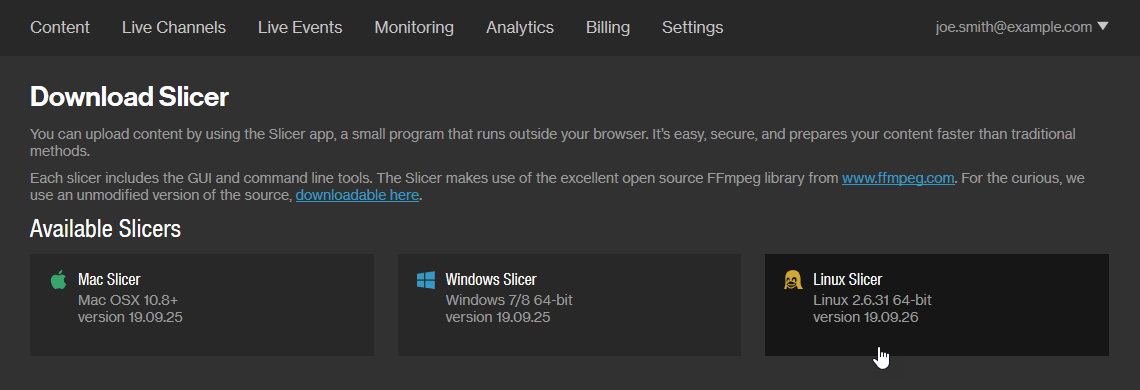
Download the Live Slicer by clicking Downloads from the bottom right-hand corner of the CMS and then clicking on the desired OS.
Extract the zip file to the desired directory.
Command:
$ tar -xvf uplynk_slicer_linux_64-231114.04.01.tbz2
...
uplynk_slicer_linux_64-231114.04.01-master/
uplynk_slicer_linux_64-231114.04.01-master/slicebot.cfg.example
uplynk_slicer_linux_64-231114.04.01-master/libfreetype.so.6
uplynk_slicer_linux_64-231114.04.01-master/libavcodec.so.57
uplynk_slicer_linux_64-231114.04.01-master/libcares.so.2
uplynk_slicer_linux_64-231114.04.01-master/slicer
uplynk_slicer_linux_64-231114.04.01-master/example.conf
uplynk_slicer_linux_64-231114.04.01-master/libcrypto.so.1.0.0
uplynk_slicer_linux_64-231114.04.01-master/libssl.so.1.0.0
uplynk_slicer_linux_64-231114.04.01-master/liveslicer
uplynk_slicer_linux_64-231114.04.01-master/font_i420.dat
uplynk_slicer_linux_64-231114.04.01-master/libavfilter.so.6
uplynk_slicer_linux_64-231114.04.01-master/ca-bundle.crt
uplynk_slicer_linux_64-231114.04.01-master/install_live
uplynk_slicer_linux_64-231114.04.01-master/libswscale.so.4
uplynk_slicer_linux_64-231114.04.01-master/libswresample.so.2.4.100
uplynk_slicer_linux_64-231114.04.01-master/libbeam-slicer.so
uplynk_slicer_linux_64-231114.04.01-master/libopus.so.0
uplynk_slicer_linux_64-231114.04.01-master/libopus.so.0.5.0
uplynk_slicer_linux_64-231114.04.01-master/LICENSE.txt
uplynk_slicer_linux_64-231114.04.01-master/slicebot
uplynk_slicer_linux_64-231114.04.01-master/README.html
uplynk_slicer_linux_64-231114.04.01-master/libavformat.so.57
uplynk_slicer_linux_64-231114.04.01-master/libavformat.so.57.58.101
uplynk_slicer_linux_64-231114.04.01-master/libavutil.so.55
...
Navigate to the newly created directory.
Command:
$ cd uplynk_slicer_linux_64-231114.04.01-master/
Run install_live.
Command:
$ sudo ./install_live
Open the Live Slicer configuration file (/etc/uplynk.conf) in a text editor.
View a sample configuration file.
Set the username setting to the email address associated with your account.
If present, delete the password line.
If missing, add a line for the apikey setting. Set it to your secret API key.
- Navigate to the Integration Keys page by clicking the Settings tab and then clicking Integration Keys from the side navigation tab.
- Your API key(s) are listed under the API Keys section.

Set the slicerID setting to "marketingslicer."
Set the slicerID setting to "marketingslicer."
Set the card setting to the number assigned to the Blackmagic capture card that will generate the source feed.
Set the port on which the Live Slicer will listen for API requests.
Enable the Live Events Dashboard's live preview capability.
Enable audio for the Live Events Dashboard's live preview when using Live Slicer version 22083100 or higher.
Set a limit to the number simultaneous viewers of a live preview.
Configure the Live Slicer to generate and install a SSL certificate.
Alternatively, manually generate a SSL certificate and then configure the Live Slicer to use it.
Learn more.
-
Set the ssl_port setting to the desired port.
ssl_port: 65010 - If present, remove the ssl_cert and the manual_ip settings.
Start the Live Slicer through the following command:
upstart:
systemd:
Set up the Blackmagic capture card to capture the audio/video feed.
- Connect the audio and video source to the Blackmagic capture card.
- Open Blackmagic system preferences and then configure the above connections as input sources.
- Open Preferences (Edit| Preferences) and then set a project format, capture file format, and storage location.
- Close Preferences and then click on the Log and Capture tab.
- Click Capture. The Live Slicer will automatically pick up the feed.
Step 2 - Create a Live Event in the CMS
Create a basic live event configuration that will stream the audio/video feed generated by the above Live Slicer.
Sign in to the CMS.
Navigate to the Live Events page. ![]() How?
How?
Click + Create Event.
In the Event Name option, type "My Live Event."
Click Create & Edit.

From the Config tab, set the Require a token for playback option to "No."
From the Slicers tab, find the Slicer ID option and then type the value assigned to the slicerID setting (i.e., marketingslicer) in the Live Slicer configuration file. Click + Add.

Click Save.
Step 3 - Set up a Media Player
A media player that points to the live event must be distributed to your viewers.
From within the desired text editor, insert the following HTML code:
<!DOCTYPE html>
<html>
	<body>

	</body>
</html>
From within the CMS, open the live event created above.
Navigate to the Playback tab.
Click copy which appears next to the Embed HTML option.
From the text editor, paste the copied text within the body tags. The resulting HTML code should look similar to the code provided below.
<!DOCTYPE html>
<html>
	<body>
		<iframe style="border:none" width="640" height="480" src="https://content.uplynk.com/player5/1SodqitBFcSwHXKzdVT4Leef.html"></iframe>
	</body>
</html>
Save the above code as a HTML page (e.g., myliveevent.html).
Load the above web page and verify that it loads pre-event slate.
Step 4 - Broadcast a Live Event
Broadcast a live event through the Live Events Dashboard.
Navigate to the Live Events page. ![]() How?
How?
Select the live event created above.
Click Open Dashboard.
Verify that a connection was established to the Live Slicer.
The Live Slicer should be highlighted in green as illustrated below.

Test the live event.
- Click Enter Event.
- Click Start Test.
Monitor the live event to identify its starting point and then start it by clicking Start Event twice.
Monitor the live stream to identify the ending point of the live event and then stop it by clicking Stop Event twice.
Step 5 (Optional) - Stream the Live Event as On-Demand Content
Upon completing your live event, it will be added to the CMS library. This allows the live event to be played back as on-demand content using the playback URL, test players, or HTML embed code associated with the live event or the VOD asset generated from it.